Archives July 2025

The Difference Between Active and Passive Stretching

Introduction

Stretching is a cornerstone of fitness, rehabilitation, and overall well‐being. Yet not all stretches are created equal. Two of the most common categories—active and passive stretching—employ different techniques, engage different muscle groups, and serve distinct purposes. Understanding their differences allows you to tailor your routine for improved flexibility, injury prevention, and performance gains. In this article, we’ll define active and passive stretching, explore their unique mechanisms, benefits, drawbacks, and provide practical examples to help you integrate both into a balanced flexibility program.
What Is Active Stretching?

Definition and Mechanism

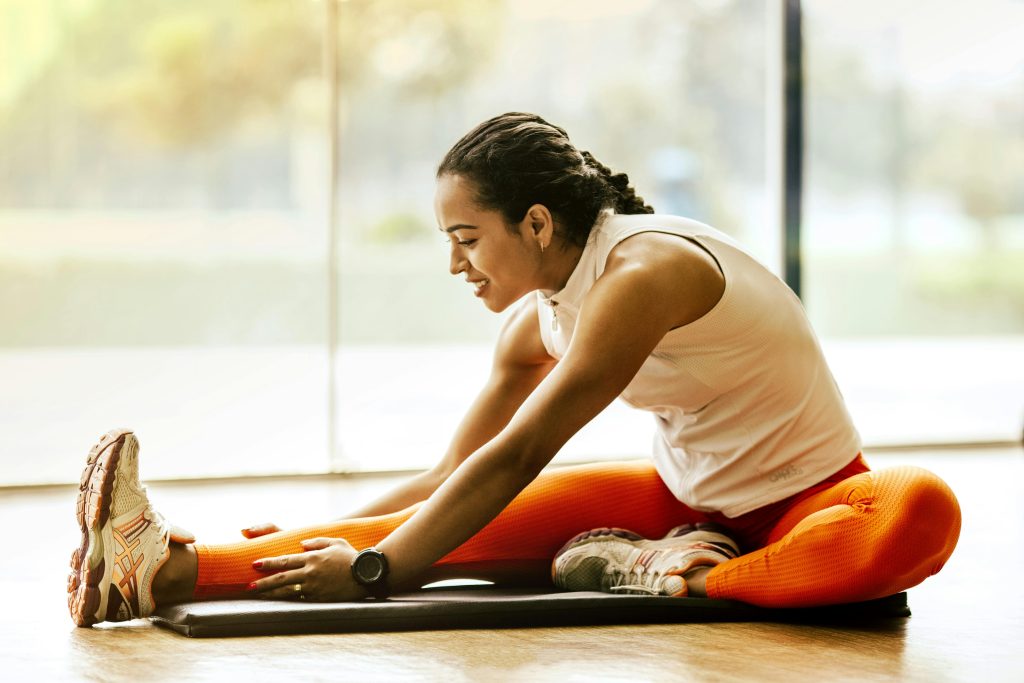
Active stretching occurs when you use your own muscular strength to hold a stretch position, without external assistance. In essence, the agonist muscle (the one doing the stretching) contracts to move the joint into the desired range of motion, while the antagonist muscle (the one being stretched) lengthens.

  • Example: Lifting your straight leg in front of you (hamstring stretch) and holding it using only your quadriceps and hip flexors, with no hand support.

Key Characteristics

  • Muscle activation: Requires engagement of the opposing muscle groups.
  • Proprioceptive demand: Builds neuromuscular control and body awareness.
  • Dynamic control: Often used as part of a dynamic warm-up to prepare muscles for activity.

Benefits of Active Stretching

  1. Improved muscular coordination: By activating one muscle group to stretch another, you enhance intermuscular communication.
  2. Injury prevention: Prepares muscles and tendons for dynamic movements, reducing the risk of strains.
  3. Functional flexibility: Mirrors the movement patterns you’ll use in sports or daily life.

Drawbacks and Considerations

  • Requires baseline strength: Beginners or those recovering from injury may struggle to hold positions.
  • Limited maximum range: You may not achieve as deep a stretch compared to passive methods.

What Is Passive Stretching?

Definition and Mechanism

Passive stretching involves using an external force to hold a stretch. This force can come from a partner, a strap, gravity, or a prop. The muscle being stretched (the agonist) remains relaxed, while an external aid moves the joint into a greater range of motion.
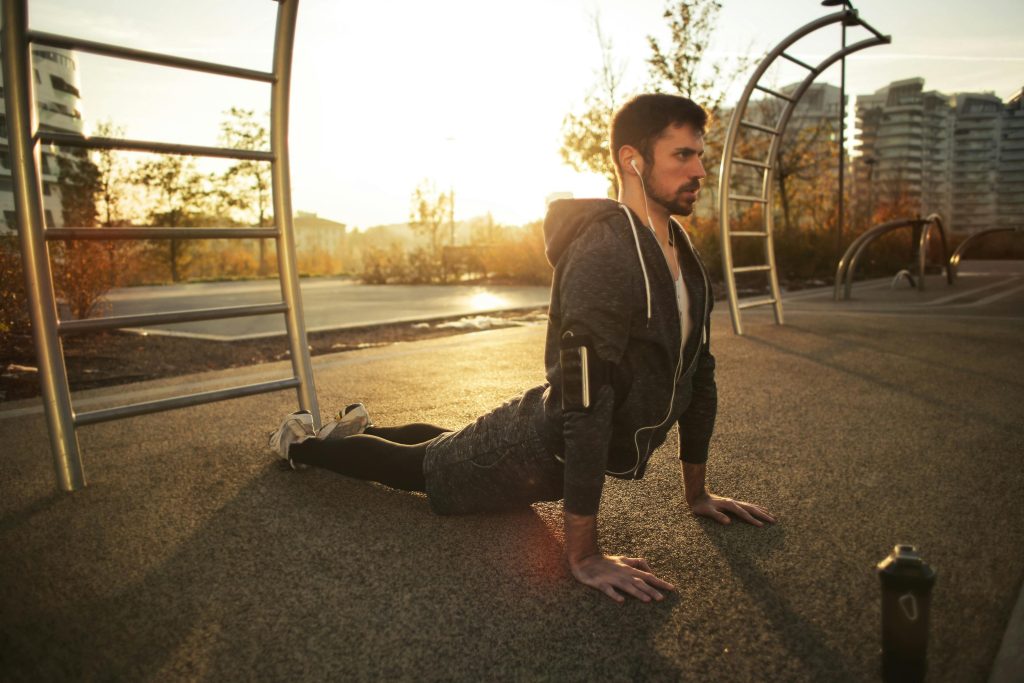
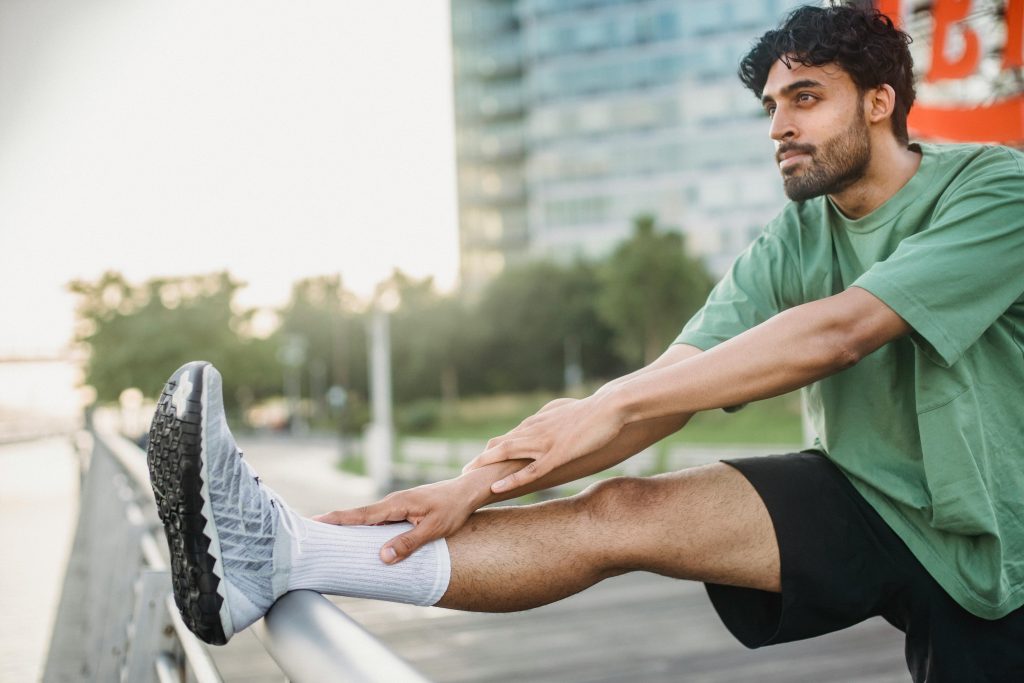
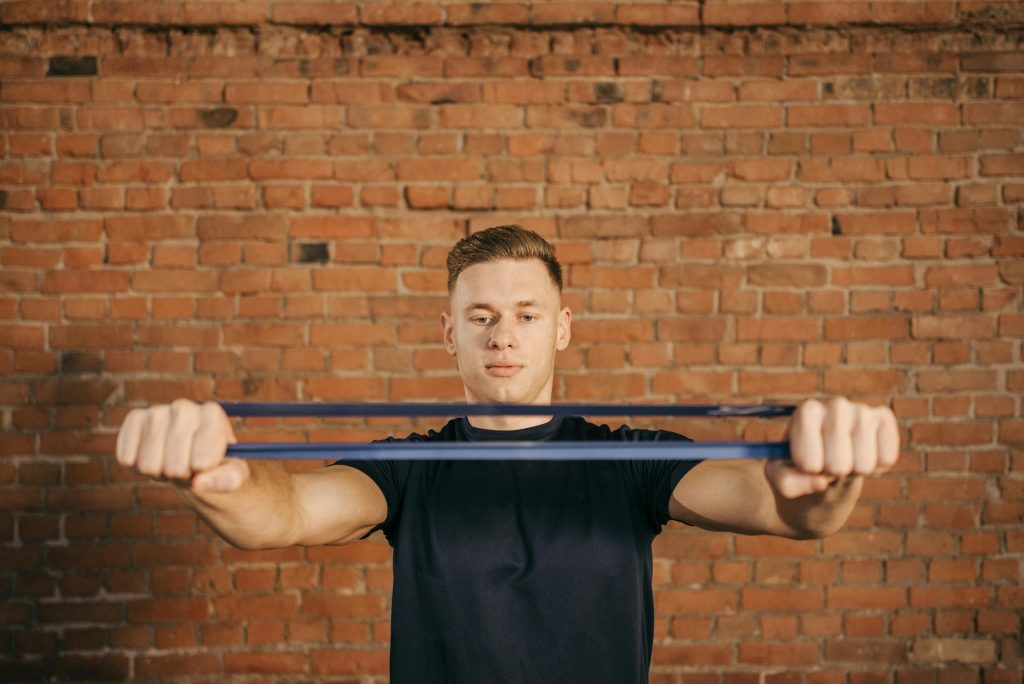
  • Example: Lying on your back and pulling one knee toward your chest with your hands, or using a resistance band to pull your leg into a hamstring stretch.

Key Characteristics

  • External assistance: Relies on gravity, tools, or a partner to maintain the stretch.
  • Muscle relaxation: The target muscle doesn’t actively contract, allowing a deeper stretch.
  • Static hold: Often held for longer durations (15–60 seconds) to encourage tissue elongation.

Benefits of Passive Stretching

  1. Increased range of motion: External force enables you to reach deeper into the stretch.
  2. Muscle relaxation: Ideal for cool-down routines and facilitating recovery.
  3. Accessibility: Suitable for individuals with limited strength or flexibility.

Drawbacks and Considerations

  • Reduced neuromuscular control: Doesn’t engage stabilizing muscles, so functional transfer to performance may be limited.
  • Potential overstretching: Without proper control, it’s easy to exceed comfort limits and risk injury.

Active vs. Passive: A Side-by-Side Comparison

FeatureActive StretchingPassive Stretching
Muscle EngagementAgonist muscles actively contractTarget muscles remain relaxed
AssistanceNo external aidRequires partner, prop, or gravity
Range of MotionModerate; limited by your own strengthDeeper; augmented by external force
ProprioceptionHigh—enhances neuromuscular awarenessLower—focuses on muscle lengthening
Best UseDynamic warm-ups, functional flexibilityCool-downs, rehabilitation, deep flexibility
Time HeldShort holds (5–15 seconds) or dynamic repetitionsLonger holds (15–60 seconds)
Risk of InjuryLower if performed with controlHigher if overstretched without feedback

When to Use Active Stretching

  1. Before Exercise (Warm-Up):
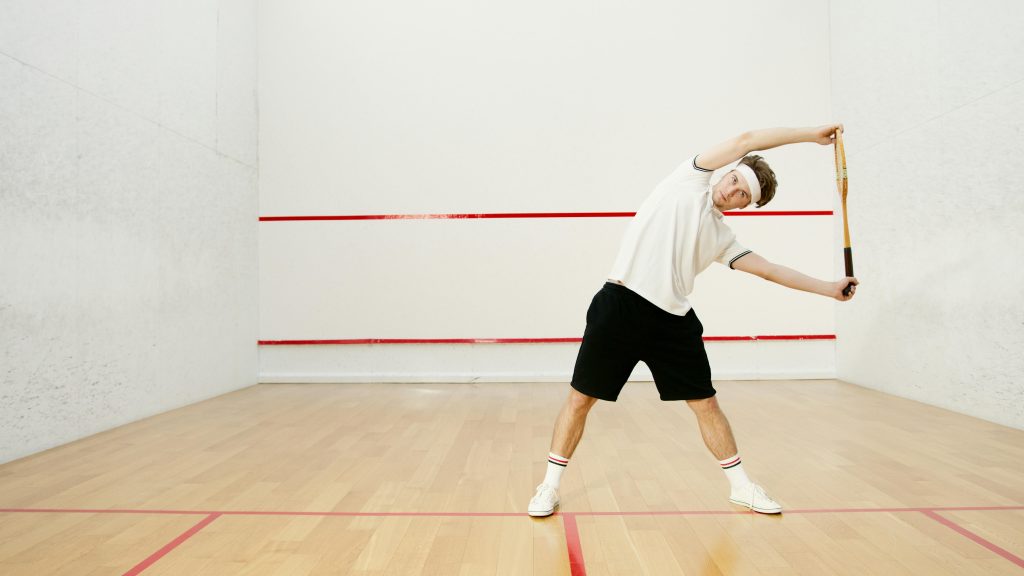
    • Leg Swings: Swing each leg forward and back, actively using the hip flexors and hamstrings to warm up the joint.
    • Arm Circles: Engage shoulder girdle muscles to prepare for overhead movements.
  2. Improving Sports-Specific Mobility:
    • Active Overhead Reach: Lift arms overhead by contracting upper-back muscles, stretching the lats actively before a shoulder workout.
    • Dynamic Hip Openers: Alternate lifting your knee to your chest, then rotating it outward to mimic running or kicking motions.
  3. Rehabilitation and Motor Control:
    • Active Ankle Dorsiflexion: While seated, flex your foot toward you and hold to strengthen anterior shin muscles and improve ankle dorsiflexion.

When to Use Passive Stretching

  1. After Exercise (Cool-Down):
    • Hamstring Pull: Lie supine and pull one leg into your chest using a strap, holding for 30 seconds to aid recovery.
    • Quad Stretch: Stand and pull your heel toward your buttocks with your hand or a strap, relaxing the quadriceps.
  2. Improving Extreme Flexibility:
    • Partner-Assisted Splits: A coach gently pushes your hips deeper to lengthen hip flexors and adductors.
    • Gravity-Assisted Backbend: Arch backward over a stability ball to passively open the chest and spine.
  3. Therapeutic and Relaxation Purposes:
    • Passive Neck Stretch: Sitting upright, let your head fall to one side, using your hand to gently increase the stretch on the opposite trapezius.
    • Child’s Pose with Support: Kneel and sit back on your heels, leaning forward over a bolster to passively stretch the lower back.

Blending Active and Passive Techniques for Optimal Flexibility

A balanced program incorporates both active and passive stretches at appropriate times:

  • Dynamic Warm-Up (Active Focus): 5–10 minutes of active, dynamic stretches to prime muscles and joints.
  • Main Workout: Perform strength or skill work.
  • Cool-Down (Passive Focus): 10–15 minutes of passive, static stretches to promote recovery and elongate muscle fibers.

By sequencing active before exercise and passive afterward, you maximize performance benefits and minimize injury risk.

Safety Tips and Best Practices

  • Listen to Your Body: Stretch to a point of mild tension, never sharp pain.
  • Control the Movement: Whether active or passive, avoid bouncing (ballistic stretching) to prevent muscle tears.
  • Warm Muscles First: Stretching cold muscles increases injury risk—use light cardio or active stretches to warm up.
  • Hold Times:
    • Active: 5–15 seconds or 5–10 controlled repetitions.
    • Passive: 15–60 seconds, depending on experience level.
  • Consistency: Flexibility improves with regular practice—aim for 3–5 sessions per week.
Conclusion

Active and passive stretching each serve valuable roles in a well-rounded fitness regimen. Active stretching builds functional mobility, neuromuscular control, and prepares your body for dynamic activities. Passive stretching excels at achieving deeper lengthening and aiding recovery post-exercise. By understanding their differences and strategically combining both methods—dynamic active stretches before your workout and passive holds afterward—you’ll enhance flexibility, reduce injury risk, and support overall performance and well-being.
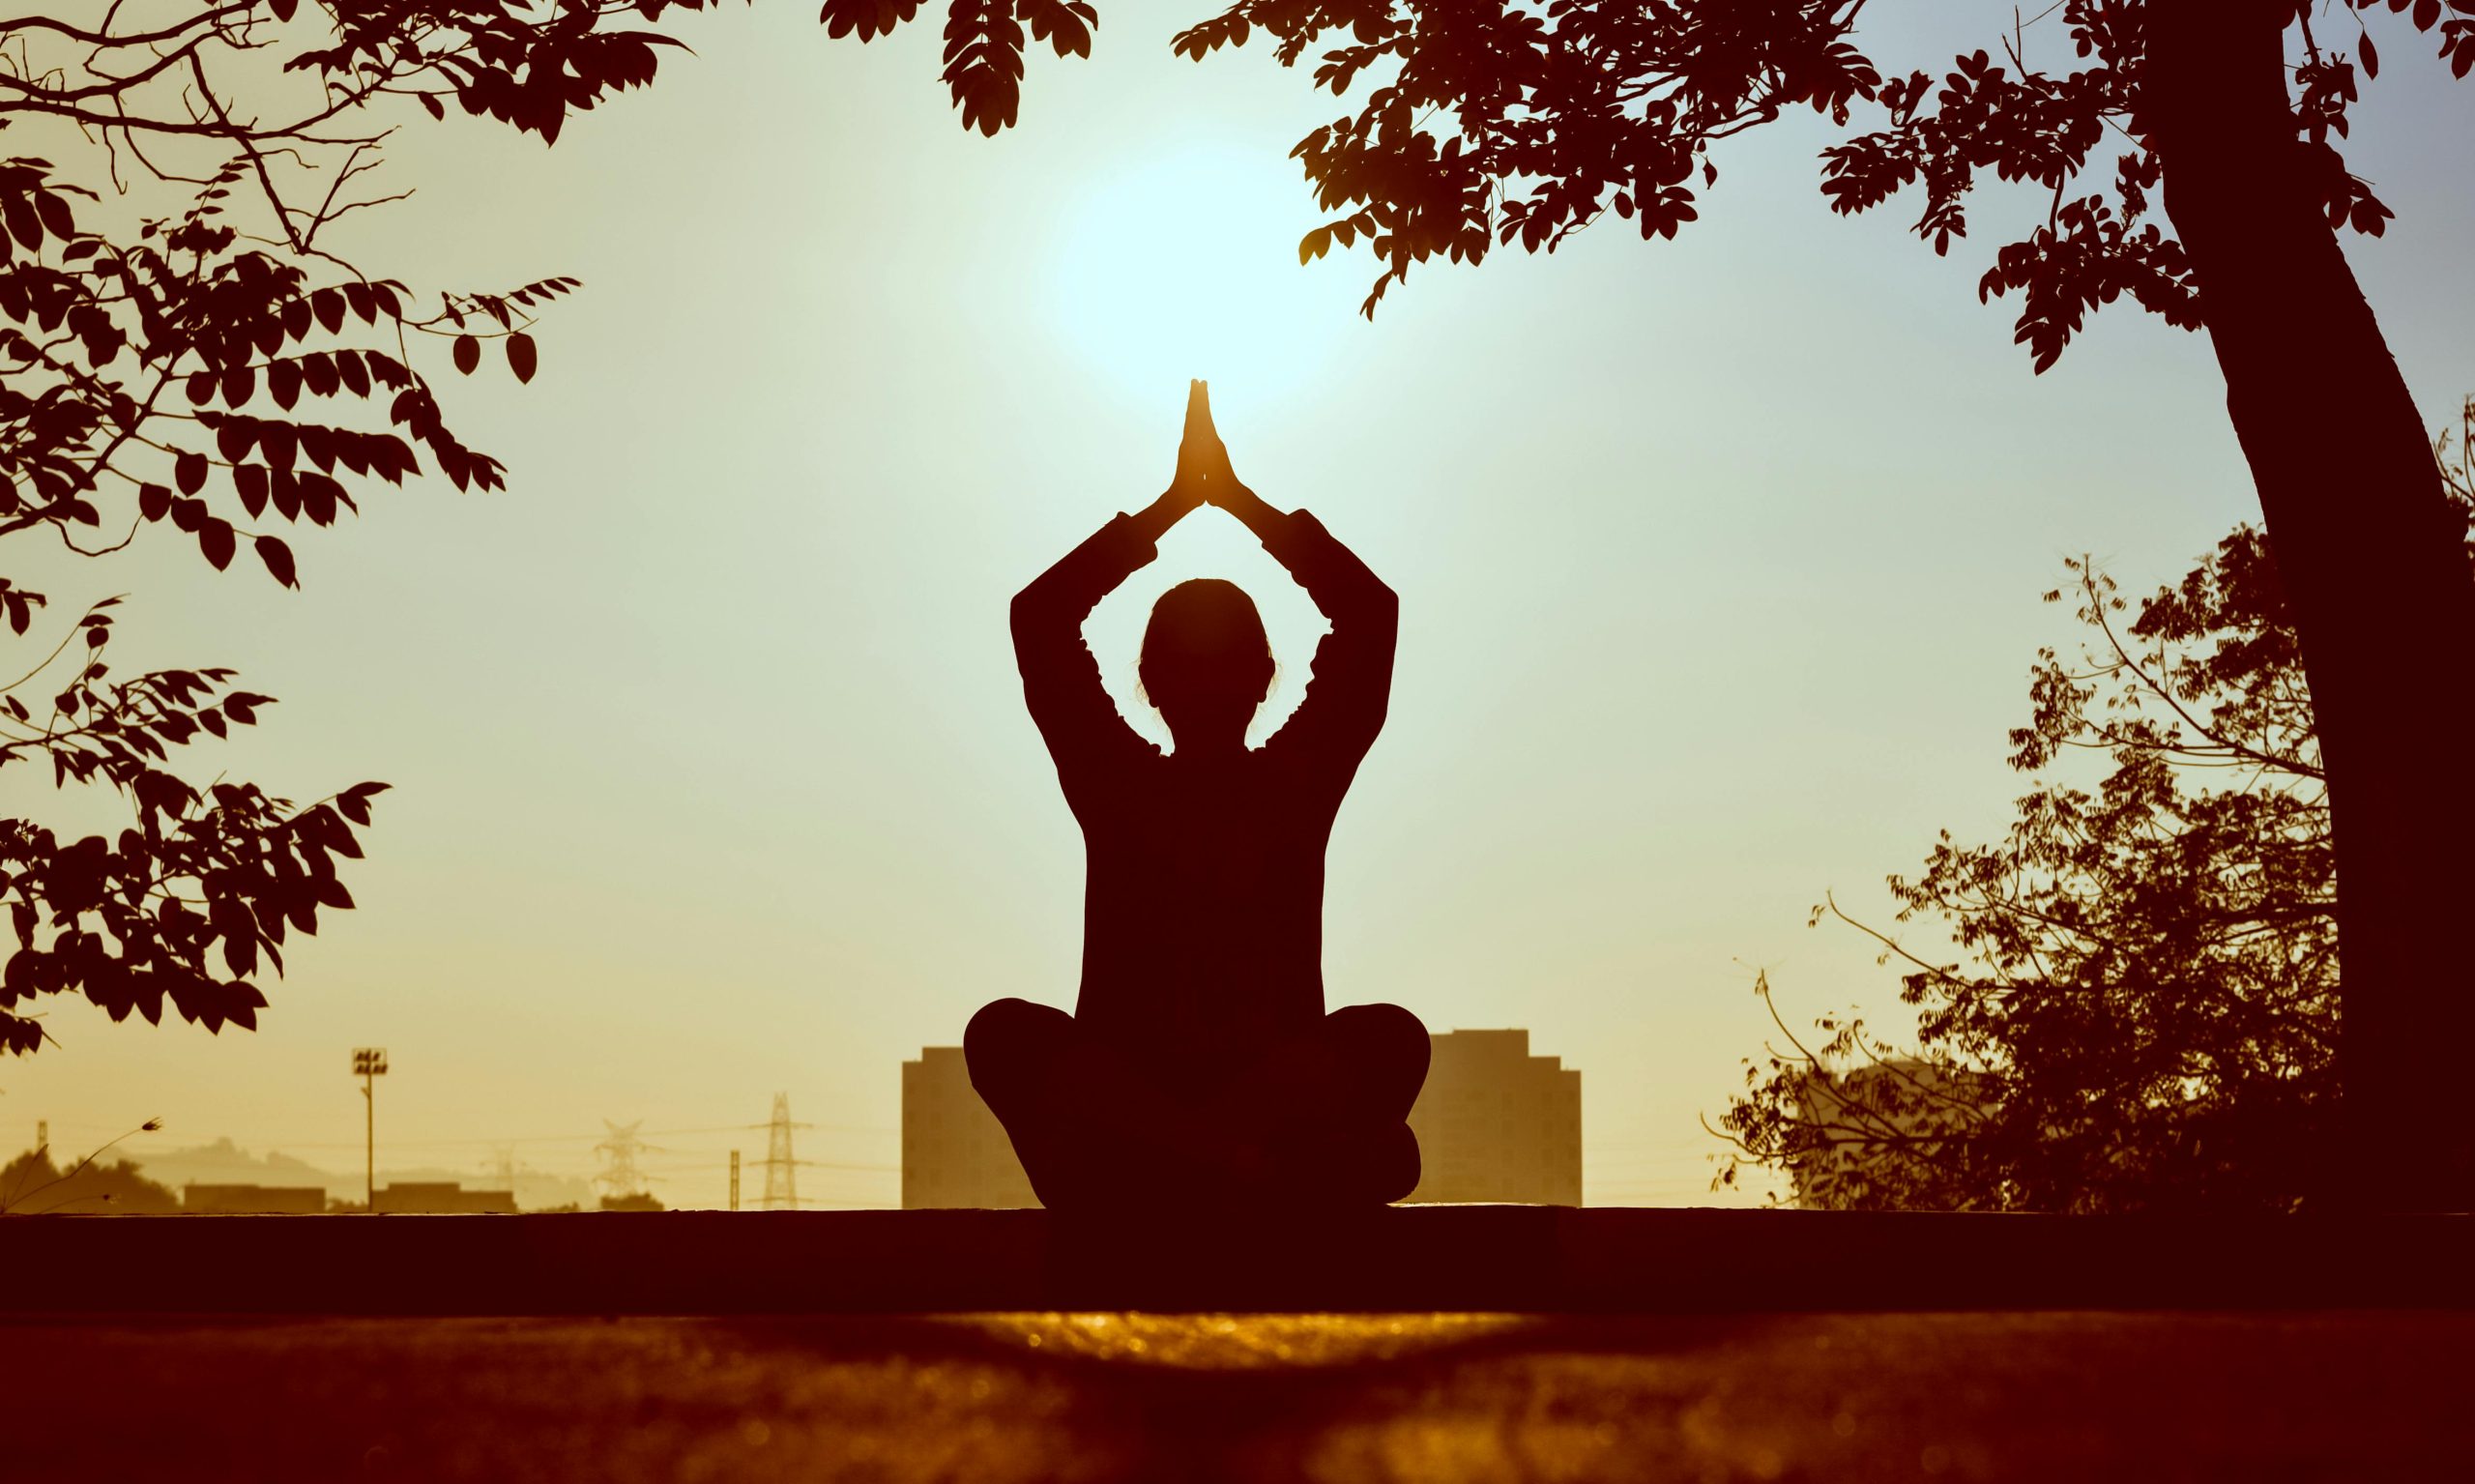
How Yoga Poses Enhance Flexibility: A Comprehensive Guide

Introduction

Flexibility isn’t just about touching your toes—it’s a cornerstone of overall physical health, injury prevention, and improved athletic performance. For many, tight muscles and stiff joints impede movement, causing discomfort and limiting daily activities. Yoga, with its blend of static stretches, dynamic transitions, and mindful breath work, offers a proven pathway to greater suppleness and range of motion. In this post, we’ll explore how specific yoga poses target key muscle groups, the physiological mechanisms behind improved flexibility, and practical strategies to integrate these postures into your routine safely. Whether you’re a seasoned yogi or a curious beginner, you’ll learn how to harness yoga’s transformative power to unlock your body’s full potential.

Why Flexibility Matters

  • Enhanced mobility: Improved joint range of motion makes everyday tasks—tying shoelaces, reaching overhead, bending—easier and pain-free.
  • Injury prevention: Flexible muscles and connective tissues absorb stress more evenly, reducing the risk of strains, sprains, and overuse injuries.
  • Posture & alignment: Tight hip flexors, hamstrings, or chest muscles can pull your spine out of alignment; yoga counteracts these imbalances.
  • Mind–body connection: The mindful aspect of yoga encourages body awareness, helping you notice areas of tension and release them over time.

Analogy: Think of your body like a well-oiled machine—regular stretching through yoga keeps the “gears” running smoothly, preventing jams and breakdowns.

How Yoga Improves Flexibility: The Science

1. Muscle Lengthening Through Static Stretch

  • Mechanism: Holding a stretch for 30–60 seconds gradually changes the resting length of muscle fibers and connective tissue (the Golgi tendon organ response).
  • Benefit: Over time, muscles and tendons remodel at a longer length, allowing joints to move through a deeper range of motion.

2. Dynamic Mobility via Vinyasa Flows

  • Mechanism: Moving systematically through poses warms tissues, increases blood flow, and promotes synovial fluid production in joints.
  • Benefit: Dynamic, active stretches teach neuromuscular coordination, helping muscles relax into length rather than resist it.

3. Neurological Adaptation and Relaxation

  • Mechanism: Yoga’s emphasis on breath and mindful focus shifts the nervous system from “fight-or-flight” (sympathetic) to “rest-and-digest” (parasympathetic), reducing protective muscle tension.
  • Benefit: Relaxed muscles stretch more easily, and your brain learns to override reflexive resistance to lengthening.

4. Fascia Release and Hydration

  • Mechanism: Deep stretches and gentle twists massage the fascia (connective tissue network), helping break up adhesions and improve tissue glide.
  • Benefit: Hydrated, pliable fascia supports greater overall flexibility and better force transmission between muscles.

Key Yoga Poses for Flexibility

H2: Hip-Opening Poses

1. Pigeon Pose (Eka Pada Rajakapotasana)

  • Targets: Hip rotators (piriformis), glutes, hip flexors
  • How to practice:
    1. From Downward-Facing Dog, bring your right knee forward toward your right wrist.
    2. Extend your left leg straight back, keeping hips square.
    3. Fold forward, resting on forearms or forehead, and breathe deeply for 5–10 breaths.

Tip: Place a block or folded blanket under the right hip if it doesn’t reach the floor to maintain proper alignment.

2. Garland Pose (Malasana)

  • Targets: Inner thighs, groin, lower back
  • How to practice:
    1. Squat with feet slightly wider than hip-width, toes pointing out.
    2. Bring palms together at heart center, press elbows into inner knees.
    3. Lengthen your spine, gently rocking side to side to deepen the stretch.

H2: Hamstring and Calf Stretches

3. Standing Forward Fold (Uttanasana)

  • Targets: Hamstrings, calves, lower back
  • How to practice:
    1. From standing, hinge at the hips and fold forward, bending knees slightly if needed.
    2. Let your head hang heavy; hold opposite elbows or reach for the floor/shins.
    3. With each exhale, soften into the stretch to gradually straighten legs.

Modification: Use blocks under your hands if you can’t reach the floor without rounding your back.

4. Runner’s Lunge with Forward Tilt

  • Targets: Hip flexors, hamstrings, calves
  • How to practice:
    1. From Downward Dog, step your right foot forward outside the right hand in a low lunge.
    2. Drop back onto the left knee, press hips forward, and then straighten the front leg for a hamstring stretch.
    3. Shift your torso back and forth to alternate between hip flexor and hamstring opening.

H2: Spine and Shoulder Flexibility

5. Cat–Cow Stretch (Marjaryasana–Bitilasana)

  • Targets: Spinal mobility, shoulders
  • How to practice:
    1. Begin on all fours with wrists under shoulders, knees under hips.
    2. Inhale, lift chest and tailbone (Cow); exhale, round spine and tuck tailbone (Cat).
    3. Flow for 1–2 minutes, synchronizing movement with breath.

6. Bridge Pose (Setu Bandha Sarvangasana)

  • Targets: Lower back, hip flexors, chest
  • How to practice:
    1. Lie on your back with knees bent, feet hip-width apart.
    2. Press into feet and lift hips toward the ceiling.
    3. Interlace hands under your back or rest arms alongside body.
    4. Hold for 5–8 breaths, then release with control.

Structuring a Flexibility-Focused Yoga Practice

H2: Warm-Up: Awakening the Muscles

  • Start with gentle joint rotations (ankles, hips, shoulders).
  • Follow with Cat–Cow flows to mobilize the spine and awaken the core.

H2: Dynamic Sequence: Active Stretching

  • Sequence Example:
    1. Downward-Facing Dog → Runner’s Lunge (right) → Forward Fold → Runner’s Lunge (left) → Downward Dog.
    2. Repeat 3–5 rounds, linking breath to movement (inhale to lunge, exhale to fold).

H2: Deep Stretching: Static Holds

  • Incorporate 3–5 minutes of deep holds in Pigeon Pose (each side).
  • Add Garland Pose and Standing Forward Fold with longer holds (1–2 minutes each).

H2: Cool-Down and Savasana

  • Wind down with gentle supine twists and a supported Bridge or Reclined Bound Angle Pose (Supta Baddha Konasana).
  • Finish with at least 3–5 minutes in Savasana to integrate the practice and allow tissues to settle.

Tips for Safe and Effective Flexibility Gains

  1. Breathe consciously: Never hold your breath; exhalations help you release into stretches and calm the nervous system.
  2. Honor your edge: Stretch to the point of “comfortable tension,” not pain—mild discomfort is normal, sharp pain is a red flag.
  3. Consistency over intensity: A daily 10-minute routine trumps sporadic 60-minute sessions.
  4. Mindful progression: Track which poses feel tighter and revisit them regularly, gently increasing duration or depth.
  5. Rest and recovery: Allow 24–48 hours between intense flexibility sessions for muscle and fascia to remodel.

Expert Insight:
“Flexibility is as much neurological as it is structural. By combining mindful breath with progressive stretches, you teach both body and mind to let go of habitual tension patterns.”
— Dr. Anjali Patel, Physical Therapist and Yoga Instructor

Conclusion

Yoga offers a holistic, sustainable path to enhanced flexibility—combining the benefits of static stretching, dynamic movement, and mindful relaxation. By targeting key areas such as hips, hamstrings, spine, and shoulders through poses like Pigeon, Garland, and Bridge, you can unlock deeper ranges of motion and foster better posture, reduced pain, and injury resilience. Structure your practice with a warm-up, dynamic flow, deep holds, and a restorative cool-down, and remember that breath, consistency, and respectful progression are your greatest allies. Step onto your mat today with curiosity and patience, and watch your body transform one mindful stretch at a time.