How Long Should You Hold Each Stretch for Optimal Gains?
Introduction
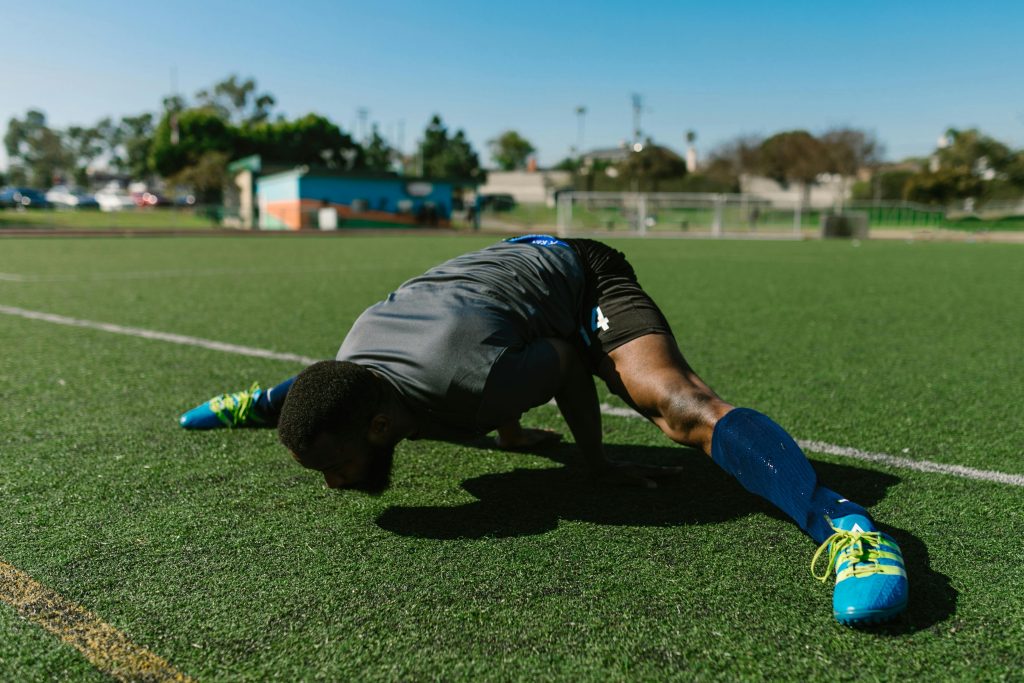
Whether you’re warming up before a workout, cooling down afterward, or simply aiming to improve your overall flexibility, the duration of each stretch can make all the difference. Hold a stretch too briefly and you may not reap the full benefits; hold it too long and you risk overstressing your muscles and connective tissues. In this comprehensive guide, we’ll unpack the science behind stretch-hold times, compare different stretching modalities, and offer evidence-based recommendations so you can design a safe, effective routine that accelerates your mobility gains.

Static vs. Dynamic vs. PNF Stretching
Static Stretching
- Definition: Holding a muscle at its end range of motion without movement.
- Typical Use: Post-workout cool-down or standalone flexibility sessions.
- Hold Recommendation: 15–60 seconds per stretch.
Dynamic Stretching
- Definition: Moving parts of your body through your full range of motion in a controlled, repetitive manner.
- Typical Use: Pre-workout warm-up to prime muscles and joints.
- “Holds”: 3–5 seconds at end range before transitioning back.
Proprioceptive Neuromuscular Facilitation (PNF)
- Definition: Combines passive stretching with isometric contractions of the target muscle.
- Typical Use: Advanced flexibility training—often with a partner or using a band.
- Sequence:
- Passive stretch to end range (10–15 s)
- Isometric contraction against resistance (3–6 s)
- Relax and deepen passive stretch (10–30 s)
- Repeat 2–3 times per muscle group
Why Hold Time Matters: The Physiology of Stretching
When you hold a stretch, you’re not only lengthening muscle fibers but also encouraging your nervous system to tolerate greater ranges of motion. Two key phenomena occur:
- Viscoelastic Creep: Under sustained load, connective tissues (tendons and fascia) gradually lengthen—much like gently pulling on taffy. This is most pronounced in the first 30 seconds of a static stretch.
- Autogenic Inhibition: During an isometric contraction (PNF), the Golgi tendon organs send signals to the spinal cord to “let go,” allowing a deeper stretch immediately afterward.
Analogy: Think of a new rubber band. If you hold it stretched for just a moment, it snaps back fully. But leave it stretched for 30–60 seconds, and it’ll settle into a slightly longer state once you let go.
Evidence-Based Hold Times
Static Stretching: The 30-Second Sweet Spot
- Research Consensus: Multiple studies indicate that holding static stretches for at least 30 seconds yields significant improvements in flexibility, with diminishing returns beyond 60 seconds per set.
- Practical Tip: Aim for 3–4 sets of 30 seconds per major muscle group (hamstrings, quads, calves, hip flexors, chest, shoulders).
Dynamic Stretching: Quality Over Duration
- Recommendation: Perform 8–12 controlled reps of each movement, holding briefly (2–5 seconds) at end range before returning.
- Example: Leg swings—swing your leg forward until you feel a light stretch, pause 2–3 seconds, then swing back. Repeat 10 times per side.
PNF Stretching: Short Contractions, Longer Holds
- Sequence Timing:
- Passive stretch: 10–15 seconds
- Isometric hold: 3–6 seconds
- Deeper passive stretch: 15–30 seconds
- Frequency: 2–3 cycles per muscle group, 2–3 times per week for best gains.
Structuring Your Stretching Routine
H2: Pre-Workout Warm-Up (Dynamic Focus)
- Hip Circles: 10 reps per direction, 2–3 s hold at end range
- Arm Swings (Cross-Body): 12 reps, 2 s hold
- Walking Lunges with Overhead Reach: 8 reps per side, 3 s hold in lunge position
H2: Post-Workout Cool-Down (Static & PNF)
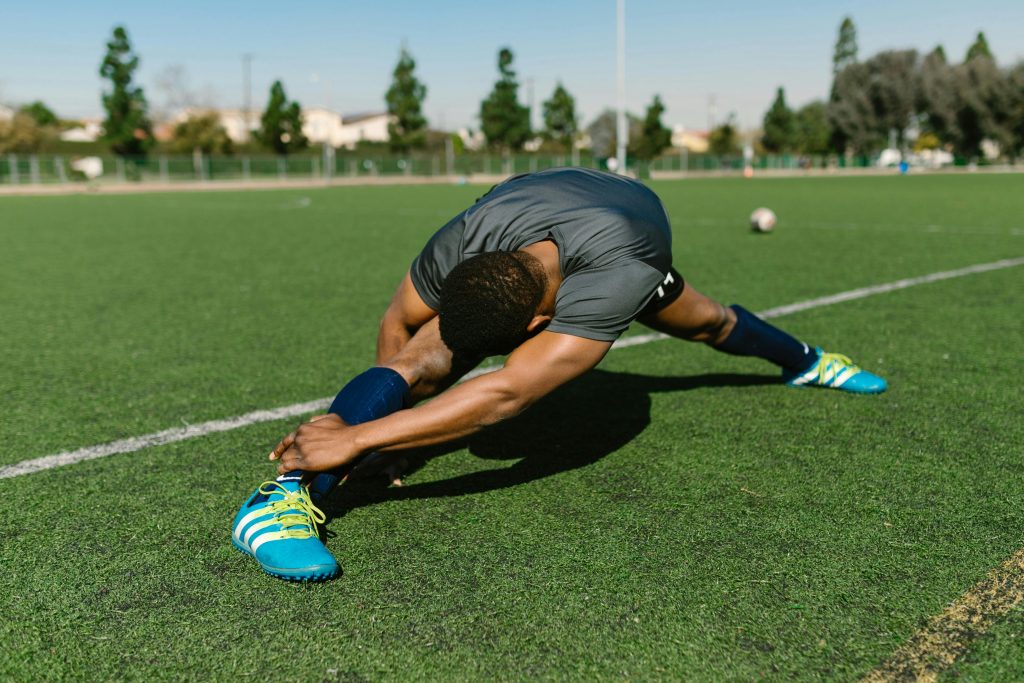
- Hamstring Static Stretch:
- Sit with one leg extended, hinge at hips; hold 30 s × 3 sets
- Calf PNF Stretch:
- Lean into a wall with a band under your foot; passive stretch 10 s, isometric press 5 s, deepen and hold 20 s; repeat × 3
- Chest & Shoulder Stretch:
- Doorway chest stretch, hold 30 s × 2 sets per side
H2: Dedicated Flexibility Sessions
- Frequency: 2–4 times per week
- Session Structure:
- Foam Rolling: 5 minutes
- Dynamic Warm-Up: 5–7 minutes
- Targeted Static & PNF Stretches: 20–30 minutes total
- Mindful Cool-Down: 5 minutes of gentle, deep breathing in a relaxed seated position
Common Pitfalls and How to Avoid Them
- Overstretching Early: Holding a stretch to the point of sharp pain can damage tissue. Aim for a mild to moderate pull.
- Skipping Warm-Up: Static stretches on cold muscles increase injury risk. Always start with a brief dynamic warm-up.
- Neglecting Consistency: Flexibility gains require regular practice. Sporadic long sessions are less effective than brief, frequent routines.
Tracking Progress: Measuring Your Flexibility Gains
- Baseline Tests: Measure hamstring reach, shoulder flexion, and hip internal rotation before beginning.
- Periodic Re-Assessments: Every 4–6 weeks, retest and compare to see improvements.
- Journal Your Routine: Note hold times, number of sets, and any discomfort—helps you adjust gradually.
Conclusion
Optimizing your stretch-hold times is all about balancing tissue physiology with practical routine design. For most individuals seeking improved flexibility, 30 seconds per static stretch (3–4 sets) combined with 2–5 second holds in dynamic stretches and properly sequenced PNF protocols offers the best return on investment. Remember to warm up first, listen to your body, and maintain consistency. With these evidence-based guidelines, you’ll unlock greater range of motion, reduce injury risk, and move more freely—from daily tasks to athletic performance.