Proprioceptive Neuromuscular Facilitation (PNF) Stretching: The Ultimate Guide to Faster, Lasting Flexibility Gains
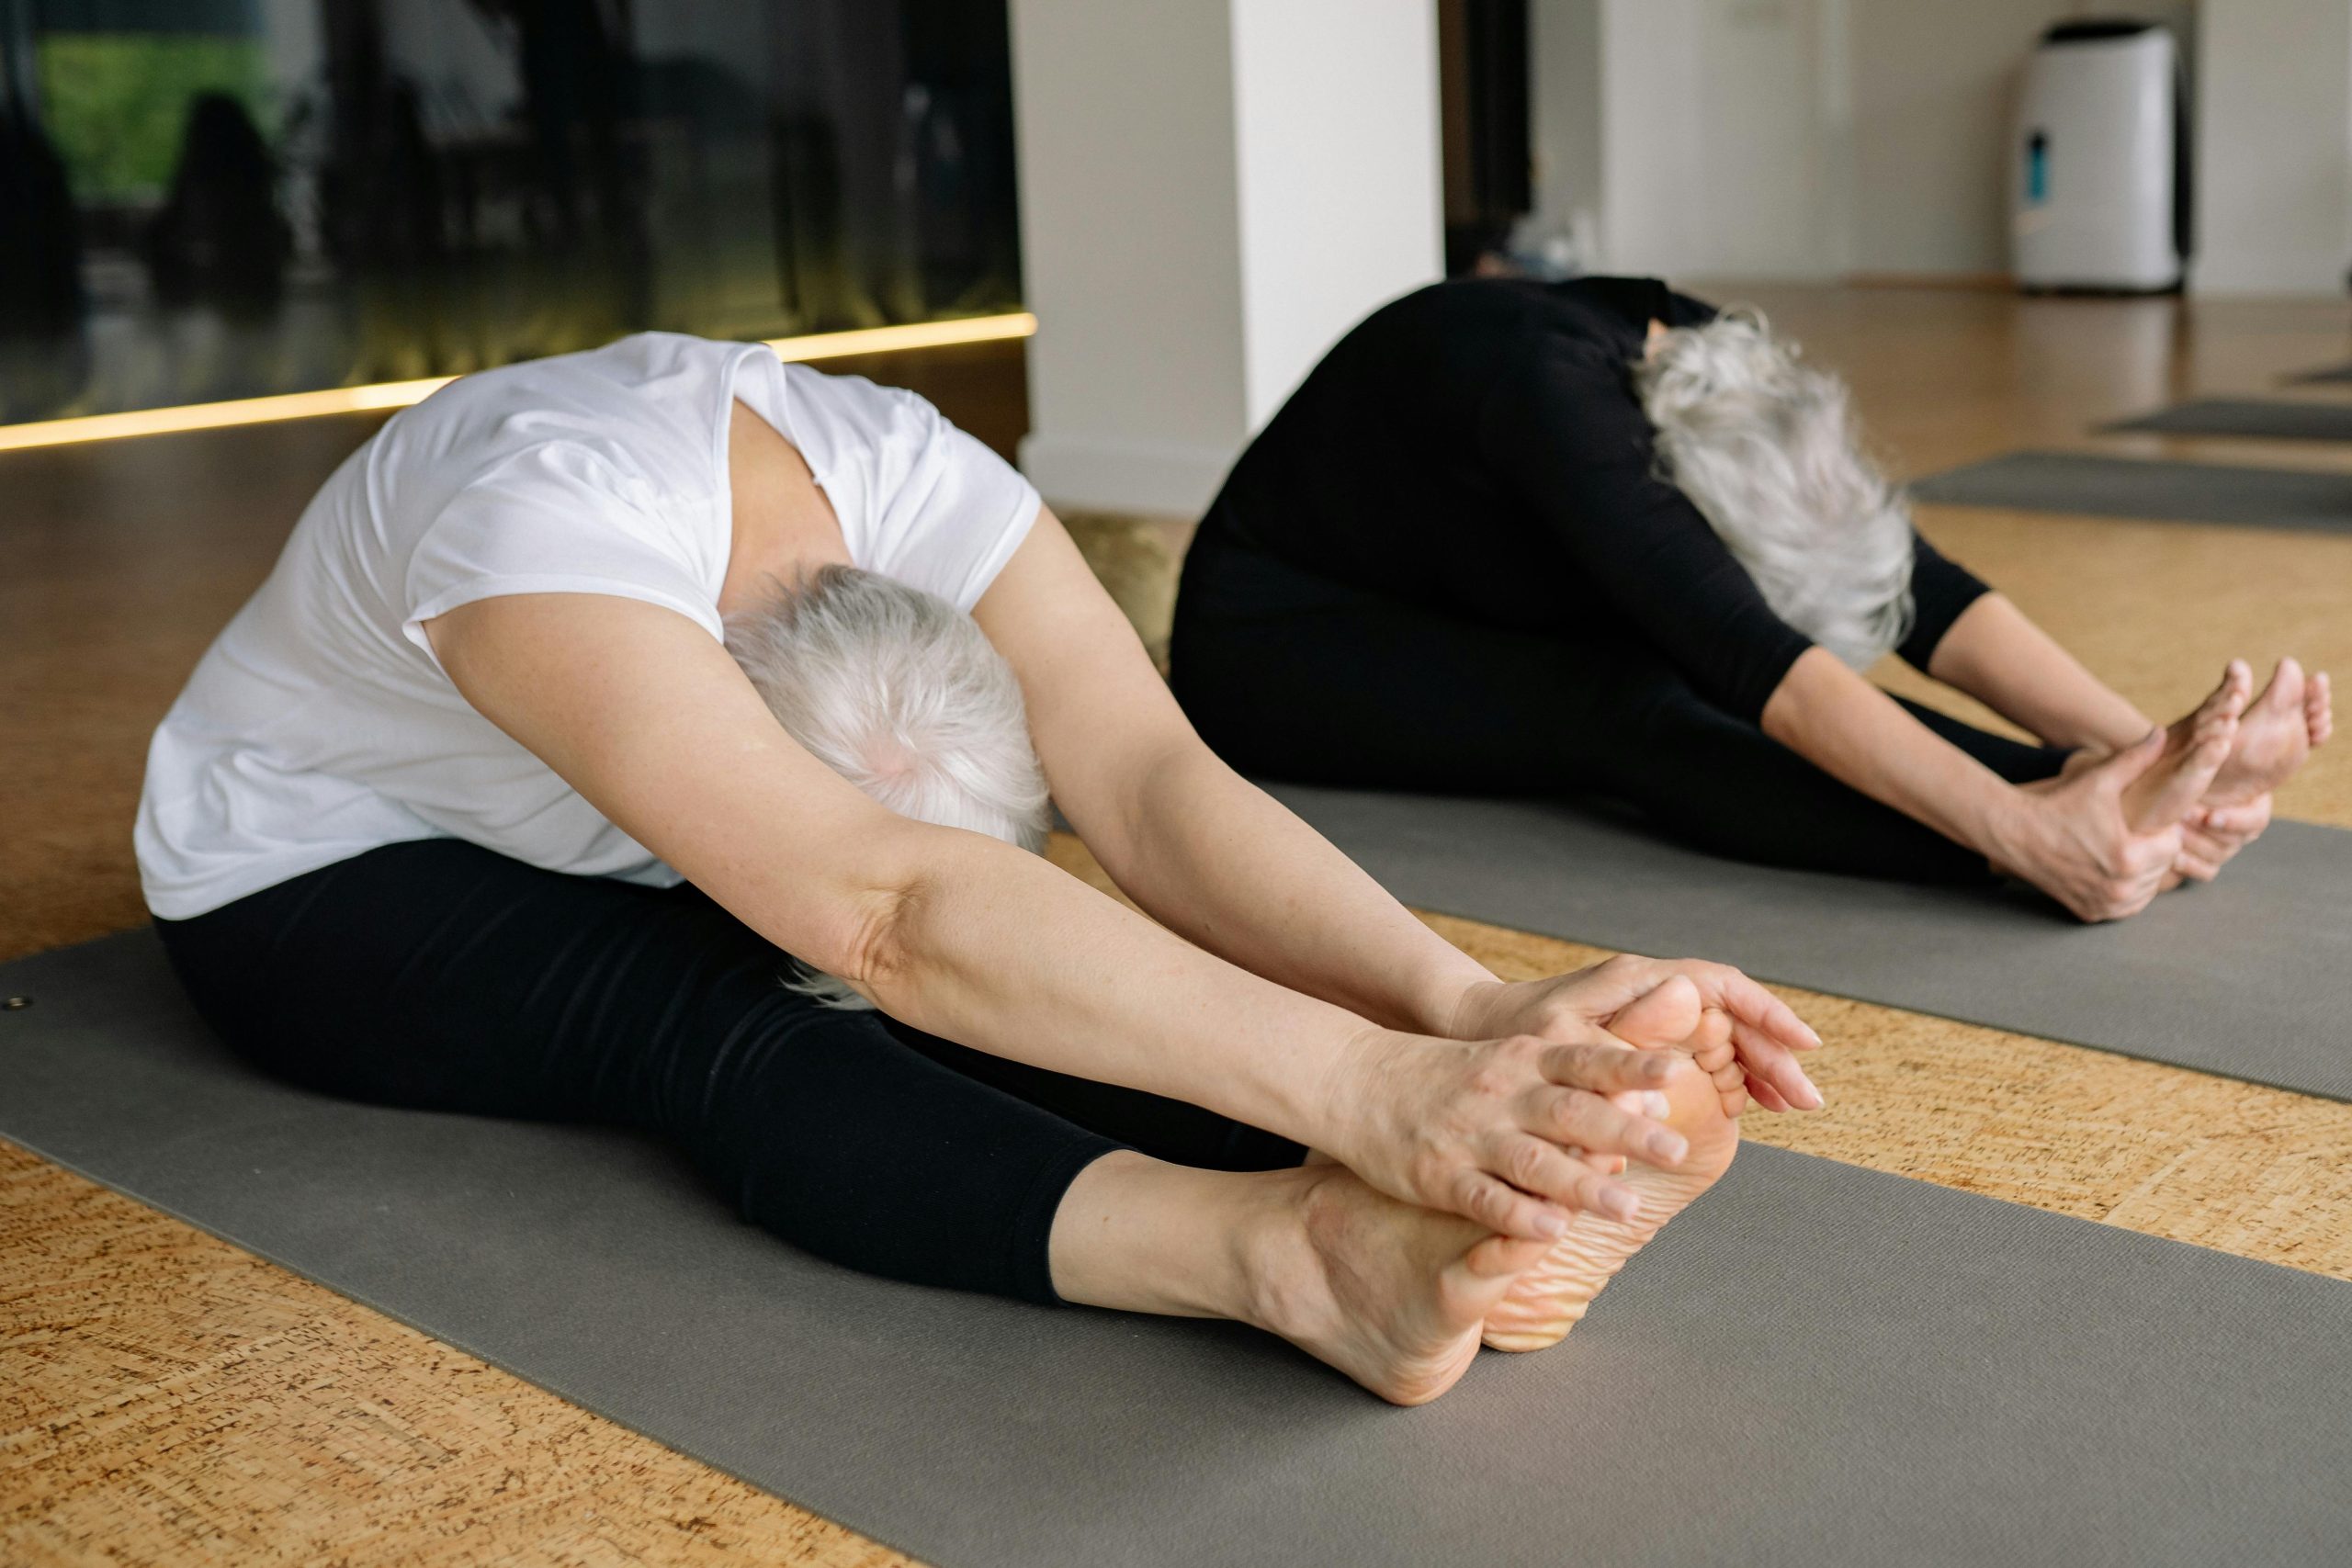
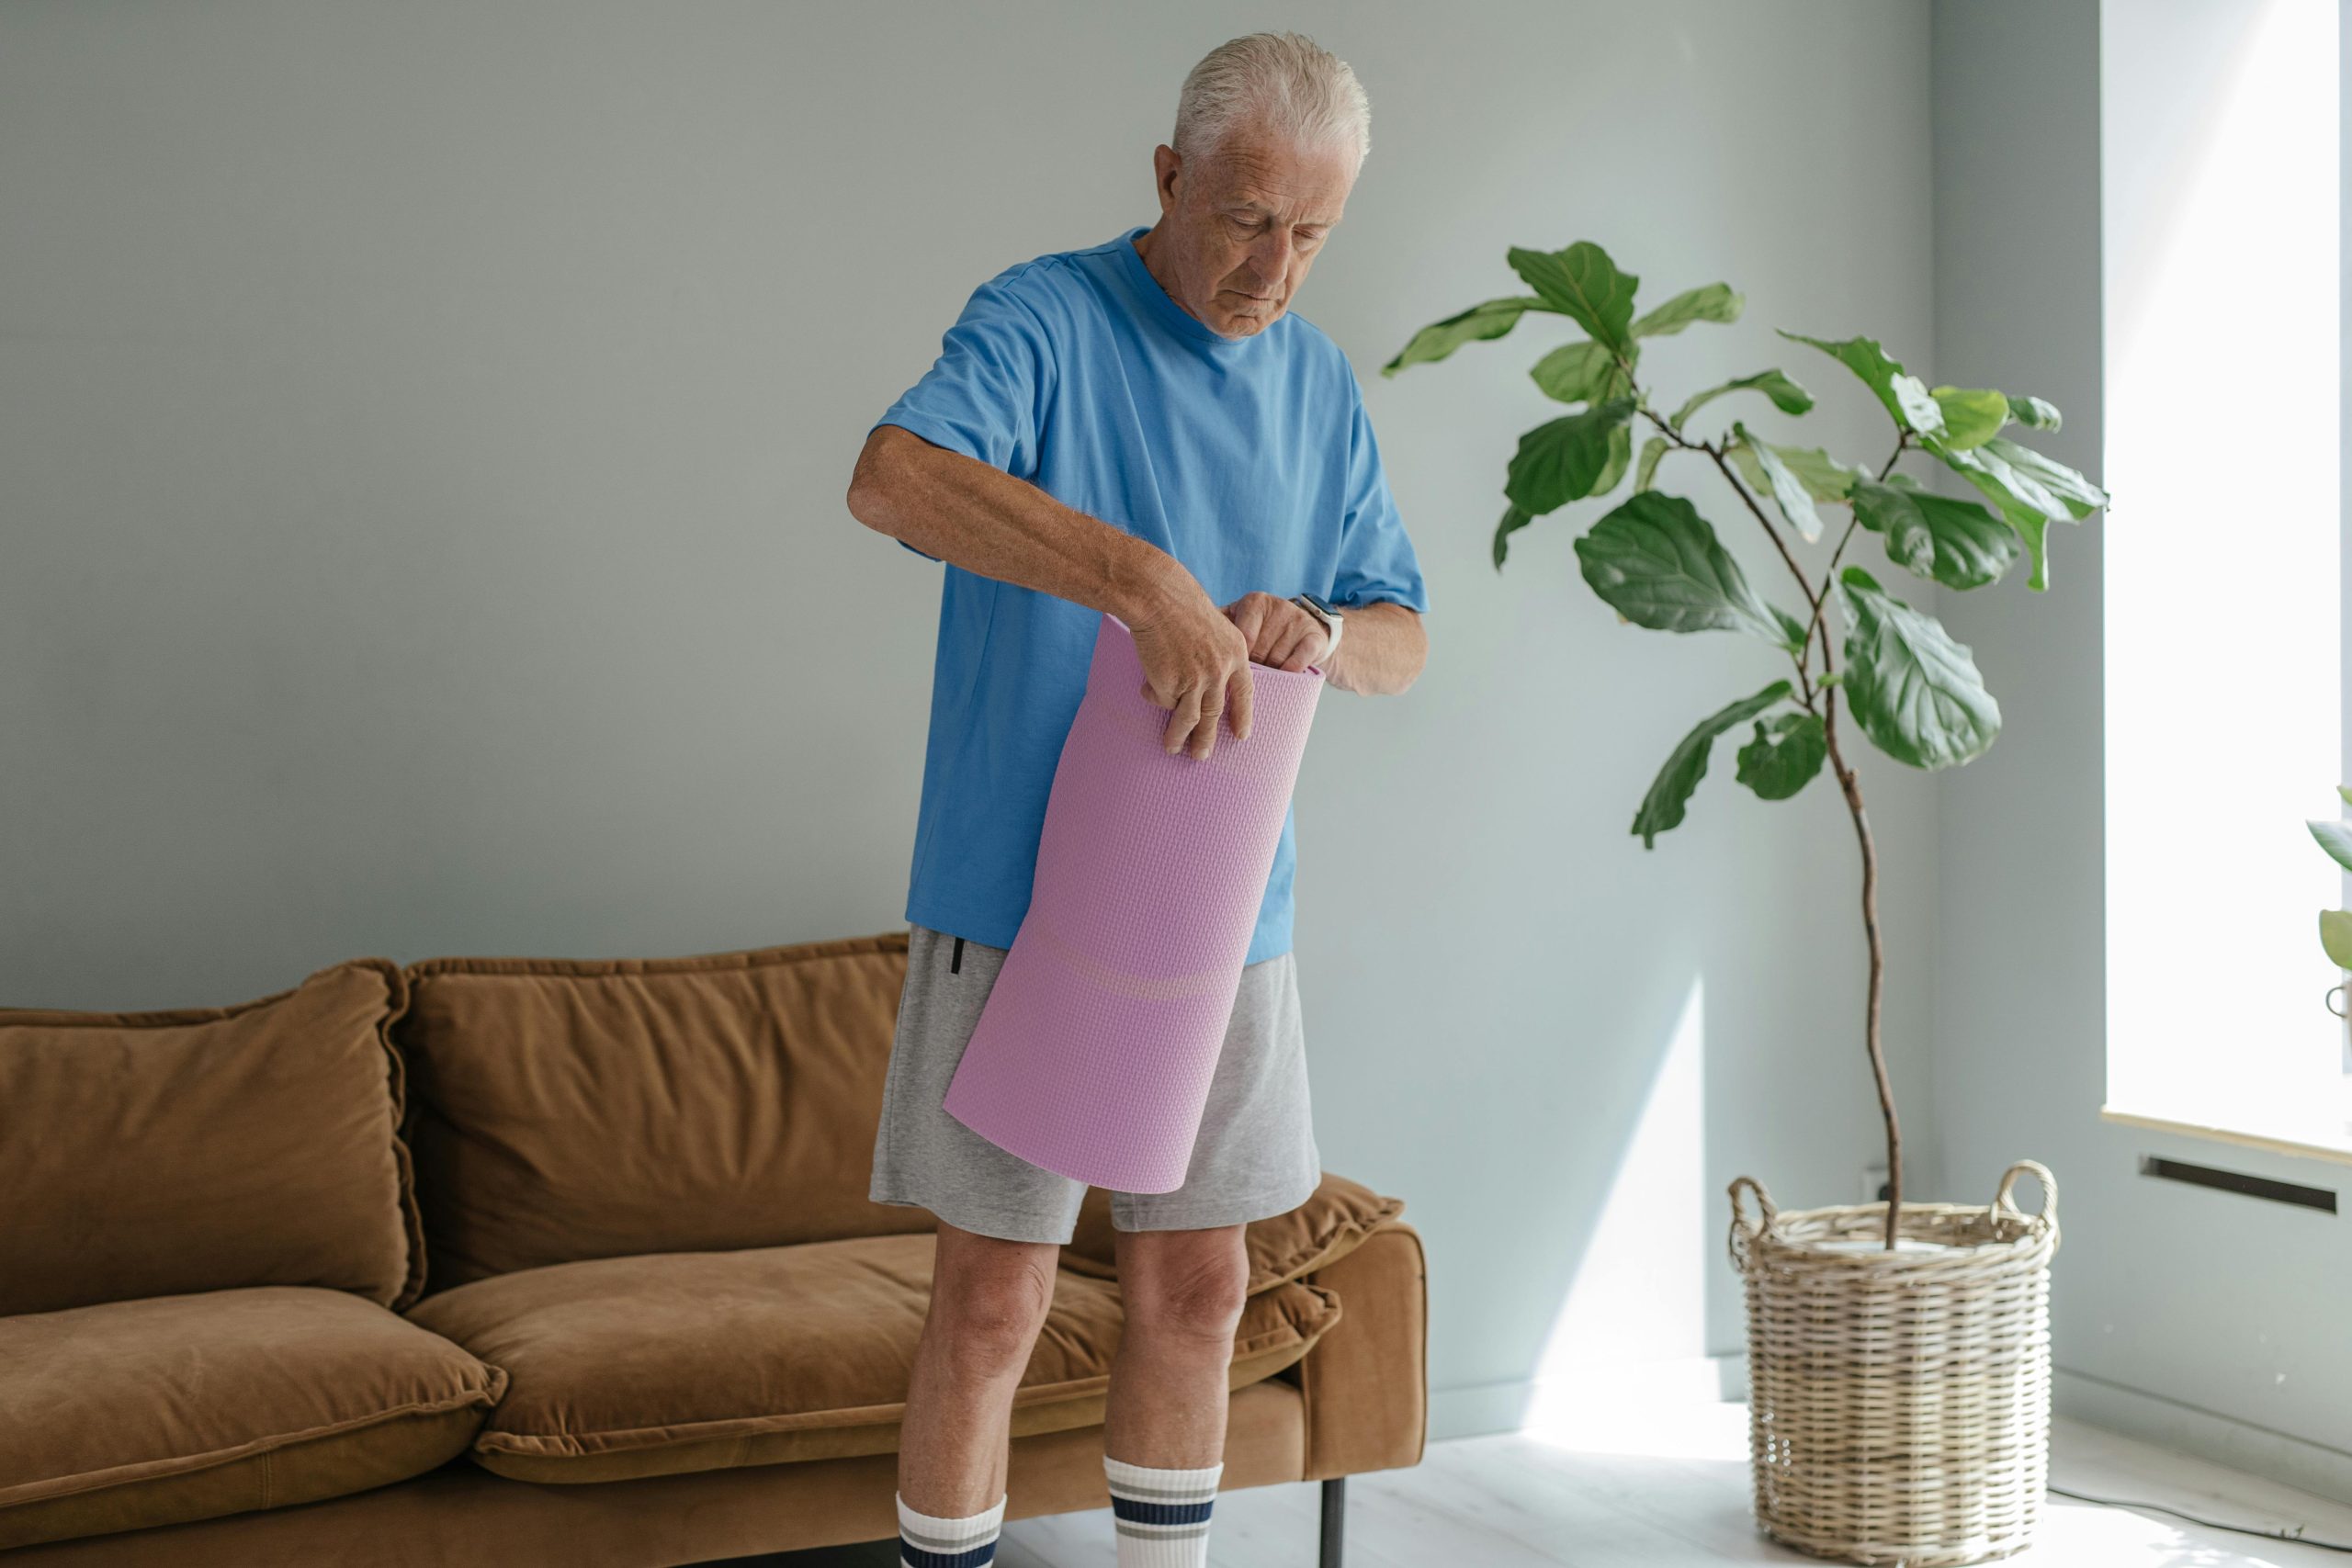
Stretching is more than a warm-up ritual; it’s a pathway to improved performance, injury prevention, and enhanced quality of life. Yet, traditional static stretches can plateau, leaving athletes and fitness enthusiasts frustrated by slow progress. Enter Proprioceptive Neuromuscular Facilitation (PNF)—an advanced flexibility method originally developed in the 1940s for rehabilitation, now embraced by elite athletes, physical therapists, and movement coaches worldwide. By harnessing your body’s own neuromuscular reflexes, PNF delivers deeper, more enduring range-of-motion gains than static or dynamic stretching alone.

In this comprehensive guide, you’ll discover:
- The science of how PNF engages muscle spindles and Golgi tendon organs
- Three core PNF techniques and when to use each
- Step-by-step protocols for safe, effective sessions
- Real-world examples—from dancers achieving full splits to desk workers reversing hip flexor tightness
- Best practices, common pitfalls, and how to integrate PNF into your warm-up or cool-down
Whether you’re chasing new personal records, rehabbing an injury, or simply seeking greater mobility in your daily life, this deep dive will equip you to stretch smarter—and see results faster.
The Science Behind PNF: Tapping Your Body’s Built-In Flexibility Switch
Your muscles and tendons host two sensory structures critical to PNF’s success:
- Muscle Spindles detect changes in muscle length and rate of stretch. When they sense a rapid or excessive stretch, they trigger a stretch reflex, causing the muscle to contract and protect itself from damage.
- Golgi Tendon Organs (GTOs) monitor tension at the muscle-tendon junction. As tension rises—especially during an isometric contraction—GTOs respond by initiating an autogenic inhibition reflex, signaling the muscle to relax, which allows a deeper subsequent stretch.
PNF leverages this autogenic inhibition: by contracting the muscle against resistance (raising tension), then relaxing, you “turn off” the protective spindle reflex and enjoy a greater stretch than passive methods permit.
Expert Insight: Research shows PNF stretching can increase passive range of motion by up to 40% more than static stretching alone, thanks to enhanced neuromuscular coordination and temporary reductions in muscle tone.
Three Core PNF Techniques
While numerous PNF variations exist, three protocols dominate both clinical and athletic settings:
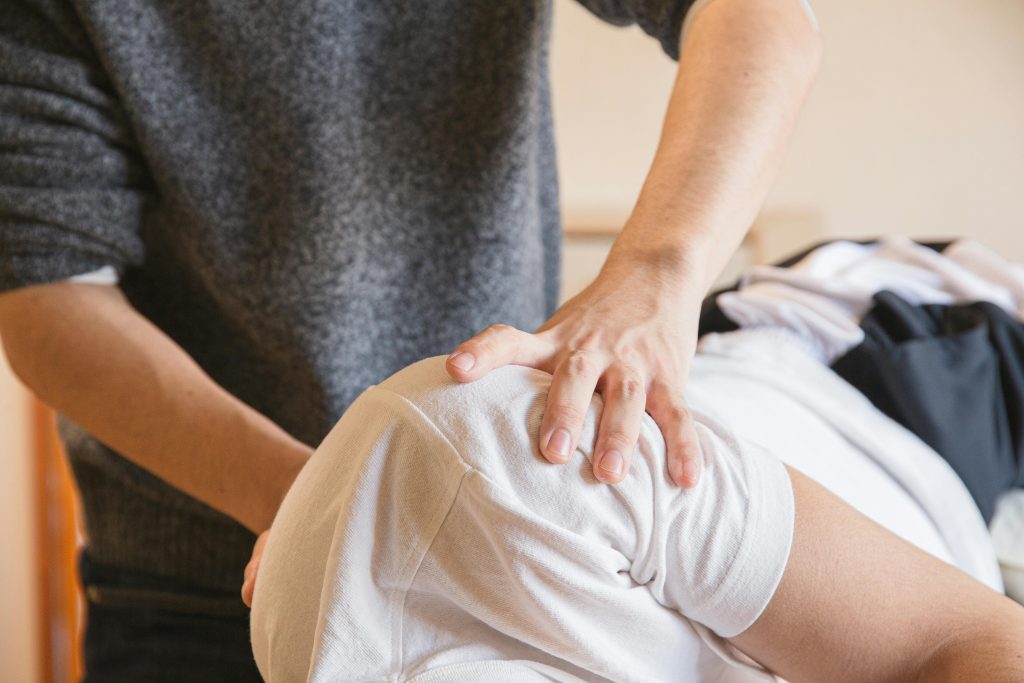
1. Hold–Relax
- Passive Pre-Stretch (10–15 s): Move the target muscle to the first point of mild discomfort.
- Isometric Contraction (6–10 s): Against a partner’s resistance (or fixed object), push the limb without changing joint angle.
- Relax & Breathe (2–3 s): Release the contraction fully.
- Deeper Passive Stretch (15–30 s): Gently move further into the range of motion.
- Repeat (2–4 cycles): Enhance gains with each iteration.

Use hold–relax when you need controlled, focused lengthening—ideal for rehabilitating after injury or when muscle soreness is a concern.
2. Contract–Relax
- Passive Pre-Stretch (10–15 s)
- Isotonic Contraction (6–10 s): Actively move the limb through its range, pushing against resistance.
- Relax & Breathe (2–3 s)
- Deepened Passive Stretch (15–30 s)
- Repeat (2–4 cycles)
Contract–relax engages the full lengthening and shortening cycle, making it excellent for athletes seeking both flexibility and dynamic control—such as martial artists or dancers.
3. Hold–Relax with Agonist Contraction
Combining the hold–relax of the target muscle with an active contraction of its antagonist (opposing muscle) yields the most pronounced gains:
- Passive Pre-Stretch (10–15 s)
- Isometric Contraction of Target (6–10 s)
- Agonist (Opposing) Active Contraction: Immediately, contract the muscle opposite to the one you’re stretching, “pulling” the limb further.
- Deeper Passive Stretch (15–30 s)
- Repeat (2–4 cycles)
This technique exploits both autogenic and reciprocal inhibition: the target muscle relaxes via GTOs, while the antagonist’s contraction further suppresses the target’s tone through spinal reflexes.
When to Use PNF: Timing and Context
As a Cool-Down for Maximal Gains
- After Intense Training or Rehabilitation: Muscles are warm, pliable, and ready for deeper stretching.
- Goal: Increase long-term flexibility and reset muscle resting length.
In a Dynamic Warm-Up (Selective Use)
- Use Low-Intensity Agonist Contractions (e.g., gentle active leg swings) rather than long holds to awaken neuromuscular pathways without inducing post-stretch strength loss.
- Goal: Prime your nervous system for explosive movement, not to build maximal flexibility in the moment.
In Rehabilitation Settings
- Post-Injury Mobility Restoration: Once acute inflammation subsides, PNF expedites return of joint motion—crucial after ACL surgery or hamstring strains.
- Chronic Tightness Resolution: Addresses fascial restrictions and hypertonic muscles (e.g., chronically tight hip flexors in desk workers).
Programming Your PNF Sessions
Frequency and Volume
- Beginners: 1–2 sessions per week per muscle group, 2–3 cycles of 10–15 s holds.
- Advanced: Up to 3–4 sessions per week for targeted improvements, monitoring muscle soreness and recovery.
- Rest Between Cycles: 30 s–1 min to allow neuromuscular reset.
Sample Routine for Hamstring Flexibility
- Light Cardio Warm-Up (5 min): Stationary bike or brisk walk.
- Dynamic Leg Swings (10 reps/leg): Front-to-back at hip height.
- PNF Hold–Relax (Hamstrings):
- Partner lifts the straight leg to mild stretch
- Push heel into partner’s hand (6 s)
- Relax; partner lifts further (20 s)
- Repeat 3 times
- Static Hold (Quad, Hip Flexor): 30 s each side
- Foam Rolling (2 min): Full legs
Total time: ~20 minutes.
Real-World Success Stories
- Ballet Dancers: A professional company incorporated hold–relax with agonist contraction into weekly routines and saw average split progress of 20° over six weeks.
- High School Track Athletes: Sprinters added contract–relax drills for hip flexors and increased stride length by 5 cm, shaving 0.1 s off their 100 m times.
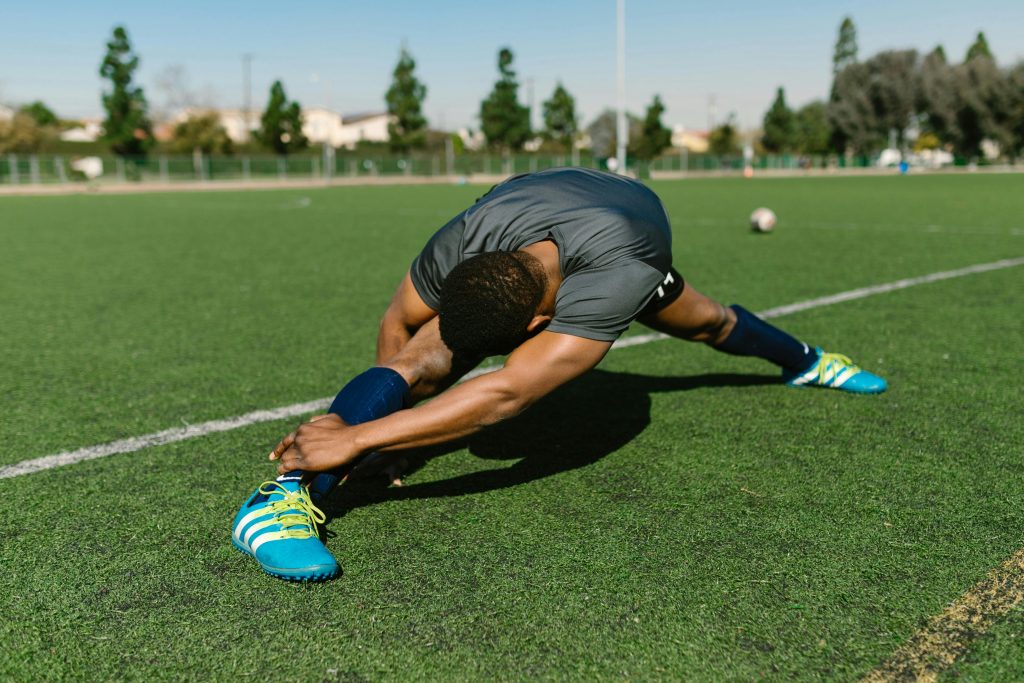
Case Study: A collegiate soccer player with chronic hamstring tightness reduced injury recurrence by 60% after 8 weeks of twice-weekly PNF sessions, compared to teammates using only static stretching.
Common Pitfalls and How to Avoid Them
- Skipping the Warm-Up: Attempting deep PNF on cold muscles increases risk of strain. Always start with 5–10 minutes of light activity.
- Overstretching Beyond Sensation of Mild Discomfort: Sharp pain signals tissue damage. Back off to the first point of tension.
- Relying Solely on PNF: For balanced mobility, complement PNF with dynamic mobility drills, strength training through range of motion, and myofascial release.
- Neglecting Recovery: Excessive frequency without adequate rest can lead to neural fatigue and diminished returns.
Expert Tips for Maximum Effectiveness
- Breathe Fully: Inhale before the contraction; exhale during the passive stretch to encourage relaxation.
- Visualize the Target Muscle Relaxing: Mental imagery enhances the GTO response and deepens stretch.
- Use Bands or Straps: For solo PNF, resistance bands allow you to create partner-like tension safely.
- Track Your Progress: Record joint angles with a goniometer or mobile app to quantify flexibility gains over time.
Integrating PNF into Your Long-Term Mobility Strategy
- Assess Your Baseline: Perform simple measures—sit-and-reach test, shoulder flexion range—to gauge current flexibility.
- Set SMART Flexibility Goals:
- Specific: “Increase hamstring passive straight-leg raise from 70° to 90°.”
- Measurable: Use a goniometer or video analysis.
- Achievable: Based on current baseline and time commitment.
- Relevant: Improves deadlift form and reduces low-back strain.
- Time-bound: Achieve within 8 weeks.
- Design a Balanced Program: Combine PNF with static holds, dynamic movements, and strengthening through new ranges (e.g., Romanian deadlifts for hamstrings).
- Monitor and Adjust: Re-test range every two weeks; dial back or intensify PNF based on progress and soreness.
- Maintain Gains: Once goals are met, reduce PNF frequency to 1× per week and use active mobility drills daily.
Conclusion
Proprioceptive Neuromuscular Facilitation stretching harnesses your body’s innate neuromuscular reflexes to achieve faster, more durable increases in flexibility than static or dynamic stretching alone. By strategically combining isometric or isotonic contractions with passive lengthening—and layering in agonist contractions—you unlock deeper range of motion, support injury rehabilitation, and elevate athletic performance. Remember to warm up thoroughly, respect your discomfort threshold, and integrate PNF as part of a holistic mobility and strength program. With consistency and smart programming, PNF will become your go-to tool for breaking through flexibility plateaus and moving with greater ease and confidence every day.